Access the PSIcapture Routing application on your Toshiba Scanner
Press the Menu hard button on the MFD control panel, and choose Extension (if the panel is set as the home page) or the button assigned to the panel.
The Login screen is displayed. Enter the user's ID and password and press OK.
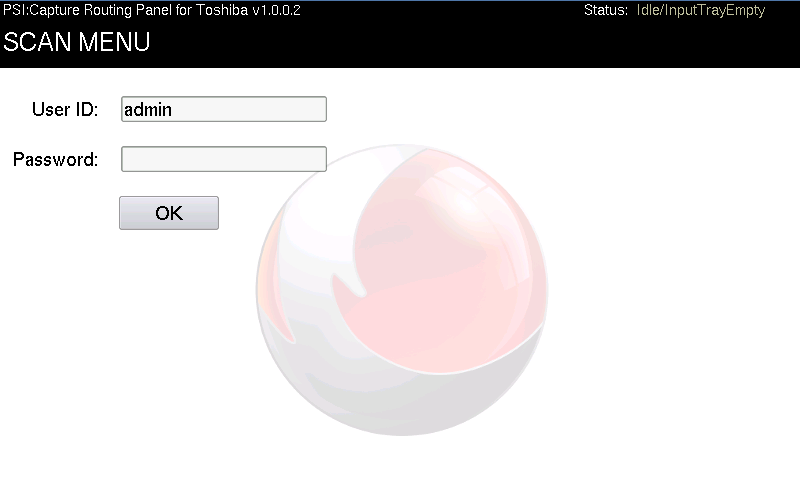
The user must be defined through the scanner’s TopAccess application. Please refer to the scanner’s administrator guide for more information.
Choose the Scan Destination
The destinations defined in the maintenance application are displayed as buttons on this screen. Press the button that best matches the documents that are about to be scanned.
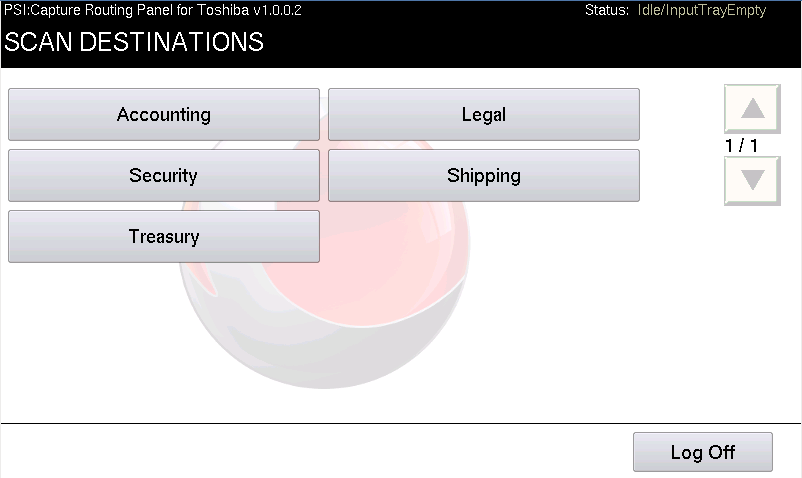
Buttons are configured through the maintenance application described in the previous section.
If there are more buttons defined than can fit on the screen, use the up and down arrow buttons to page through them.
Press Logoff to end the session.
Change the Scanner Settings
Select the various scanner settings.
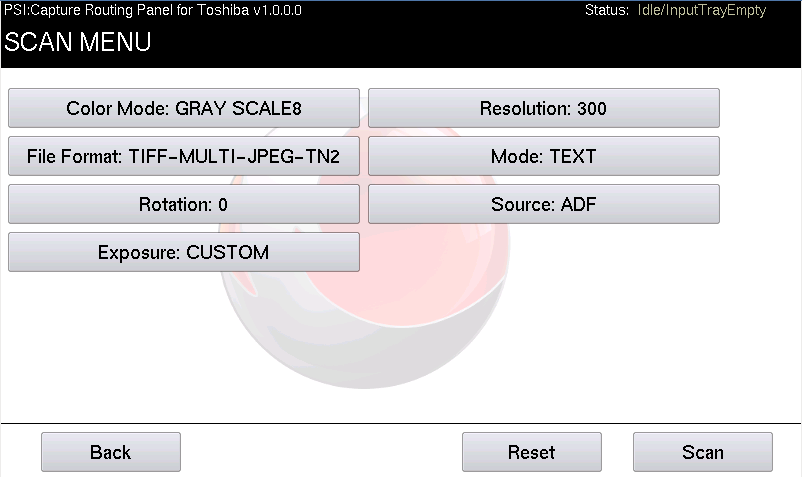
NOTE: In order for OCR to work correctly in PSIcapture, please scan at 200 or 300 DPI.
The recommended file format is TIFF.
Some settings are incompatible with others. If the user chooses conflicting settings, the application will display a warning screen and will correct the conflict.
Scan the Document(s)
Press the Scan button to begin the scan, or the Back button to return to the Scan Destinations screen.
After a job completes, the user may scan additional documents to the selected folder by loading more documents and pressing the Scan button.
After scanning all documents, return to the Scan Destinations screen and press the Logout button.
Comments
Please sign in to leave a comment.