Introduction
PSIcapture Mailroom uses an application user store to manage all users that will interact with the application. Users can be defined as:
- PSIcapture Mailroom-only Users - Users that are created within PSIcapture Mailroom and are not linked to any external system
- Linked Users - Users that exist in PSIcapture Mailroom but maintain a link to an external directory that handles authentication
PSIcapture Mailroom supports any directory that implements the Lightweight Directory Access Protocol version 3.0 or later. For further details regarding the use of external directories in PSIcapture Mailroom please refer to the User Directories and Adding an External User Directory articles.
Once a user is created they may be assigned one or more additional roles. Roles grant additional capabilities within the application. Each user is also assigned an unique identifier and a document queue. The document queue manages documents that are assigned to that specific user.
Adding or Editing a User
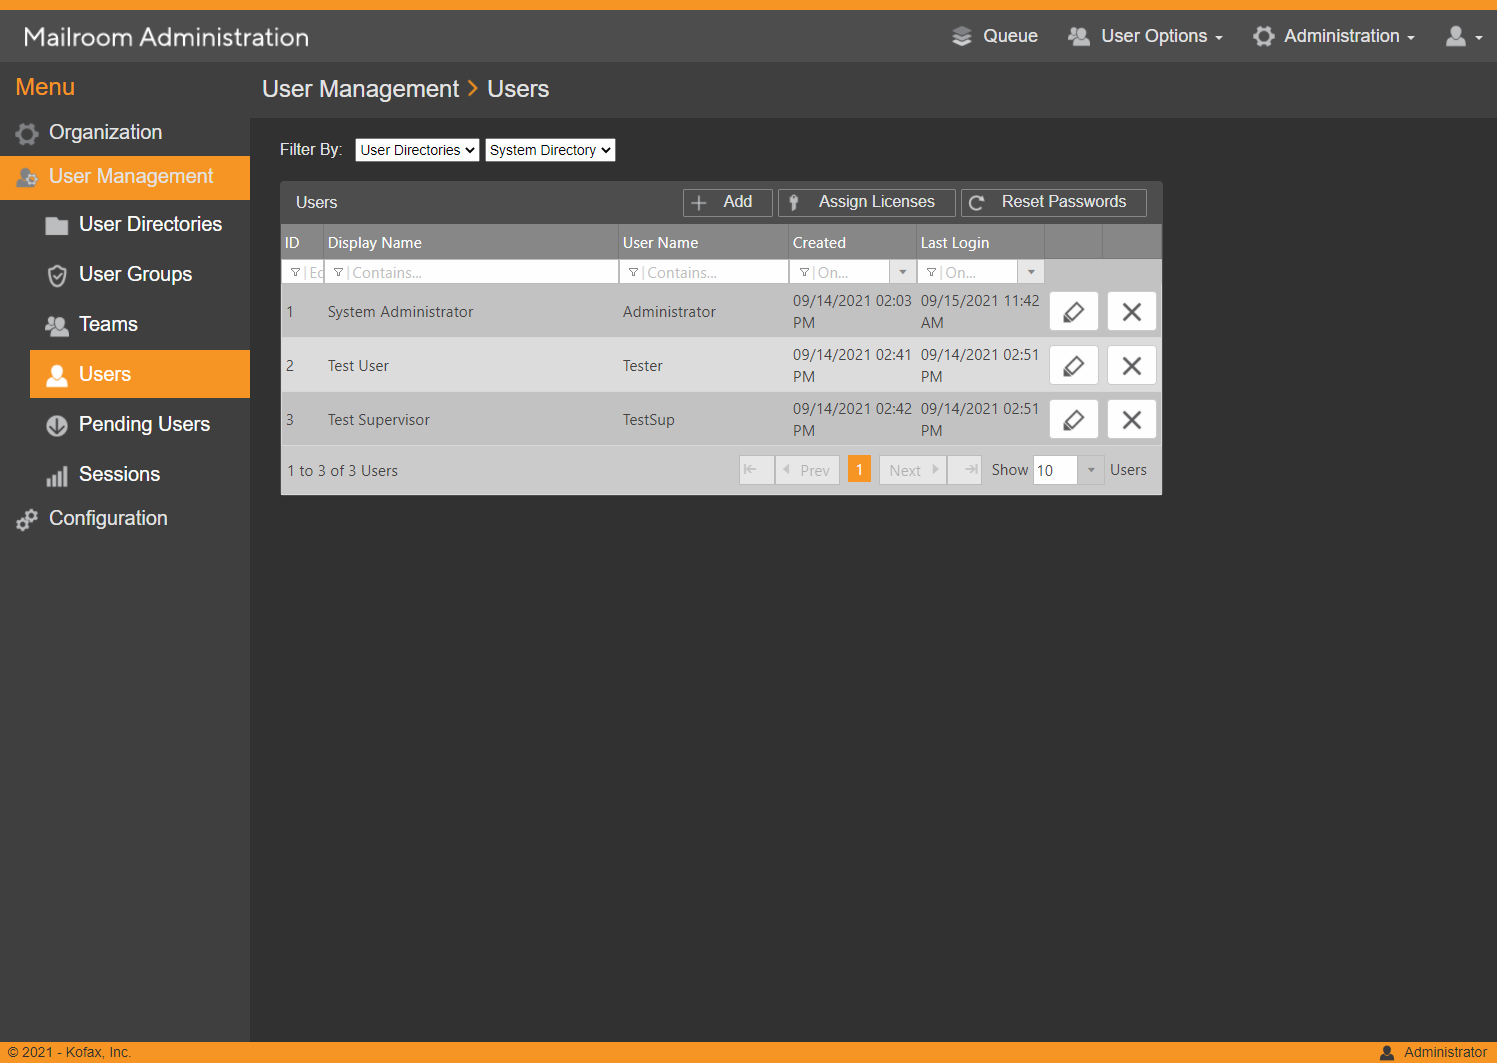
To add a new user click the Add button in the upper right corner of the Users table. To edit an existing user, click the pencil icon to the right of the user to be edited. Adding or editing a user settings are the same as defined below.

General Tab
- User Name - Enter the name of the user being created. When creating a user that is linked to an external directory, the user name should exactly match the user name used in the external system. Do not include any domain prefixes or identifiers. NOTE: If PSIcapture Mailroom is linked to a Microsoft Active Directory domain named contoso.com with NETBIOS name of CONTOSO, and PSIcapture Mailroom needs to create a user account for CONTOSO user John Smith, having username CONTOSO\JSmith, the user name used in PSIcapture Mailroom would be JSmith.
- User Directory - Select which User Directory for the user being created. If the System Directory is the only option then no other directories have been created.
- Password - Enter a unique password for the user. If the System Directory is selected and the option to require complex passwords is enabled then the password must follow these rules:
- Passwords must be at least 6 characters in length
- Passwords must contain at least one uppercase letter
- Passwords must contain at least one lowercase letter
- Passwords must contain at least one number
- Confirm Password - Re-enter the password to confirm.
- First Name - Enter the user's first name.
- Last Name - Enter the user's last name.
- Display Name - Enter the display name that will appear in the bottom right corner of the browser.
- Email Address - Enter a valid email address for the user. This email will be where the user will receive new document notifications if enabled.
- Team - If teams are enabled the administrator can see which team the user is assigned to while editing the user. If it is a new user this field will be blank. NOTE: Administrators can remove a user from a team by clicking the "Clear" button at the right of this text field. By clicking Clear the user is automatically added to the System Team by default.
- License - Choose the license that the user should be assigned. Available licenses are:
- None - User is created without an assigned license and cannot access PSIcapture Mailroom.
- Standard - User is created and assigned a Standard license. If a license cannot be assigned this means there are no licenses available for the install. Please contact your Reseller, Channel Manager, or Support for additional licenses.
Roles Tab
The Roles tab allows you to grant additional application roles to the current user which include being an Administrator or a Supervisor for a team. Application roles may also be granted via a user group mapping within the user's User Directory.

Document Profiles Tab
The Document Profiles tab will only be visible if Document Profile Permissions have been enabled for the current organization in General Settings.
The Document Profiles tab enables the administrator to grant or deny a user access to any or all document profiles available. To grant or deny access click on None in the Permissions column and select None, Grant, or Deny. NOTE: If Document Profile permissions are set to "Simple" then this table below will appear with checkboxes. Checking the box grants access to the document profile.
| Simple Permissions | Advanced Permissions |
|---|---|
 |
|

Removing a User
To remove a user from the system, click on the X icon to the right of the user to be deleted.
System users are not removable. Removed users are not recoverable.
Comments
Article is closed for comments.