| version 7.9.x | Download Pending |
Note
This article includes advanced Administrator areas for PSIcapture as well as Xero's Web Portal.
Audience
This article is meant for PSIcapture Administrators.
Overview
The Xero Migration allows users to migrate content from PSIcapture to Xero's platform, with a wide variety of configuration options. Below is a breakdown of configuration options available in this migration, and how to link those elements to your Xero configuration.
Important Note on Xero Connections
Ensure that the Xero Connection is already configured before proceeding with this Migration configuration. For more information, see:
PSIcapture Administrator Guide: Connecting PSIcapture to Xero
PSIcapture Administrator Guide: Configuration: Connections Tab
Xero General Options
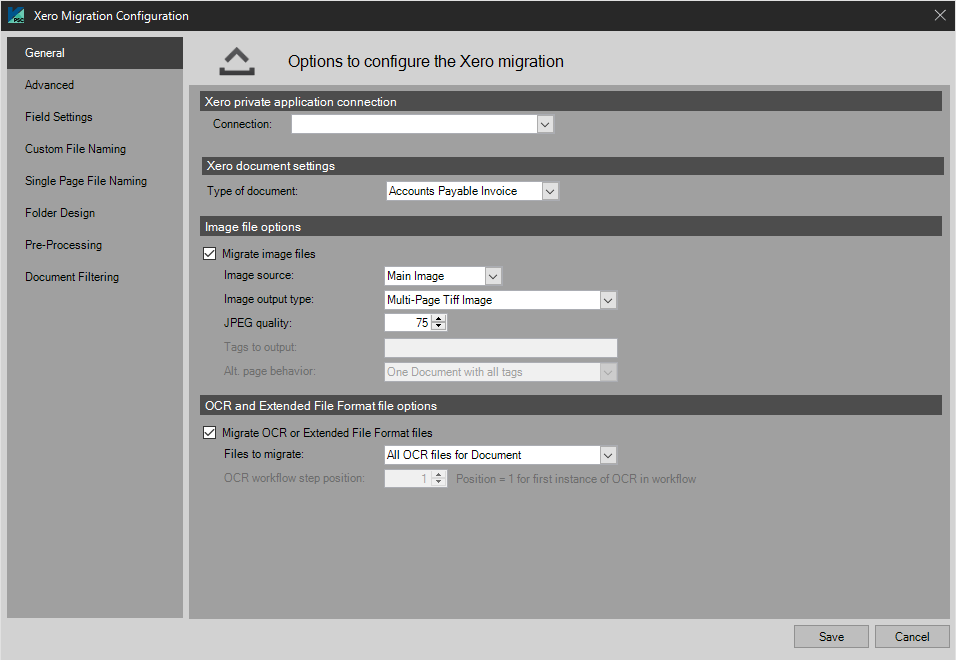
Xero Private Application Connection
Connection
Choose a connection that has been configured in the Connections tab of the PSIcapture Root Configuration menu. For more information, see:
PSIcapture Administrator Guide: Configuration: Connections Tab
Xero Document Settings
Type of Document
Choose the type of document that defines the category in which the document will be placed within Xero. For example, Accounts Payable, Accounts Receivable, Receipts, and more are standard document types. Custom document types defined within the Xero interface should also appear here.
Image File Options
Migrate Image Files
Select Migrate Image Files to output the tiff files.
Image Source
Select the Image Source:
- Main Image – Image you see within the capture viewer
- Original Image – Only available if option on step 2 of 9 is selected (this image is not modified by Image Processing)
- Alternate Images – Alternate images can be created at various times during the workflow (IE Image Processing: Crop)
Storage Location
Select Storage Location by choosing a pre-defined location or configuring a new one.
Image Output Type
Select the Image Output Type: Multi-Page Tiff Image, Single Page Tiff Images, Single Page JPEG Images, Single Page BMP Images, Single Page GIF Images, Single Page PNG Images, Multi-Page PDF (Image Only), or Single Page PDFs (Image Only).
JPEG Quality
The default is 75 and is a good blend between quality and size. Raising the number will increase size and may increase the quality of the file. This setting affects Color, Grayscale and JPEG files only.
Tags to Output
When Alternate Images are selected as the Image Source, user can specify the image tag here. Only alternate images with the matching tag will be outputted. NOTE: Separate multiple tags using commas.
Alt. Page Behavior
Select Alt. Page Behavior: One Document with all tags, or One Document with each tag.
OCR File Options
Migrate OCR Files
Select Migrate OCR Files to output the OCR files. This is for a files created in the OCR module.
Storage Location
Select Storage Location by choosing a pre-defined location or configuring a new one.
OCR Files to Migrate
Select OCR Files To Migrate: All OCR Files for Document, Single OCR File by workflow position, or OCR Files by file tags.
OCR File Tags to Output
Select OCR File Tags to Output: When OCR Files by file tags are selected, only files with matching image tags will be outputted. NOTE: Separate multiple tags using commas.
Single Page Output Options
Naming Option
Select format by which the files are named.
Advanced Migration Settings
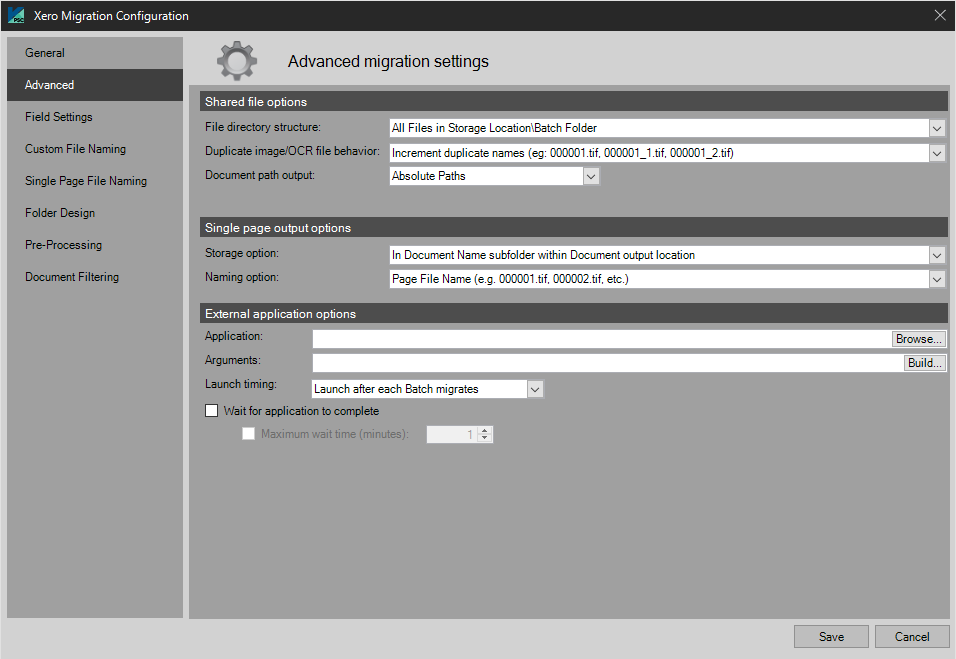
Shared File Options
File directory structure
Choose the directory structure that suits your unique needs.
Duplicate Image/OCR File Behavior
When the program detects that it is about to create a duplicate Image/OCR file the user can select from the following behavior options:
- Increment duplicate names (e.g.: 000001.tif, 000001_1.tif, 000001_2.tif)
- Overwrite existing file
- Use existing file
- Stop Migrating
- Add new version of Document
Document path output
Absolute paths or relative paths, depending on the output location or an absolute path.
Single Page Output Options
Single page output options are only used if single page output is selected in image file options.
Storage Option
Specify whether PSIcapture migrates files to either the output location or a subfolder within the output location.
Naming Option
Select desired format by which the files are named according to the described naming scheme.
External Application Options
The user may wish to execute another windows application as a part of this migration. In order to accomplish this, the user must configure the following:
Application to Launch
Select the windows executable to launch.
Application Arguments
Supply any command line arguments, if any. These are supplied by the executable’ developer.
Launch Timing
The user can choose between the following timing options to launch the executable:
- Launch application after each Batch is migrated
- Launch application after all selected Batches are migrated
Field Settings

The Field Settings tab provides a tool to map index values from the capture process to index or metadata fields in Xero's Web Portal.
The Field Name column represents the index field name defined for this Document Type, and the Index fields are mapped in the below section and represent the index field names configured in Xero.
The Output Format supports Text Field Masking.
To include a field to be migrated, select the corresponding checkbox in the "Include" column.
NOTE: If there are fields that do not match fields in the dropdown list they will be highlighted yellow.
Index Field mappings:
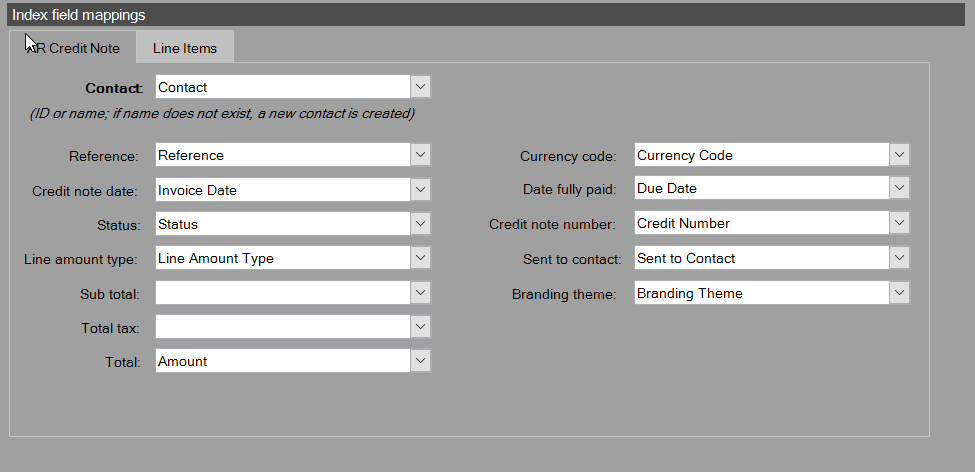
Map the Contact to the index field containing a Contact that will match a preconfigured contact entry on Xero. Continue to map additional fields as appropriate. For more information on configuring Xero fields, see:
https://central.xero.com/s/article/Field-mappings-for-custom-document-templates
Custom File Naming
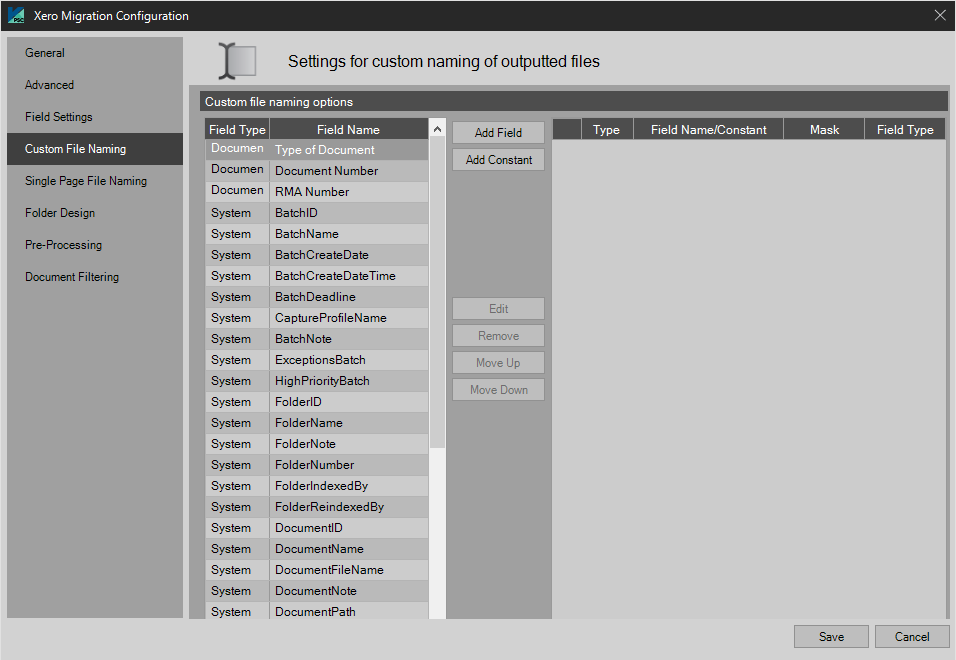
File naming tabs have a universal interface. The example shown here is the Custom File Naming tab. It supports the use of system and index data to name the files that are being migrated to the Xero Web Portal. For example, the Client, Platform, Batch_Number, and Load_Date as index fields could be concatenated to create a naming pattern for the migrated files in Xero.
These settings apply to custom files migrated.
File Extension is available with the Text migration settings. Users can add a custom file name.
Single Page Custom File Naming
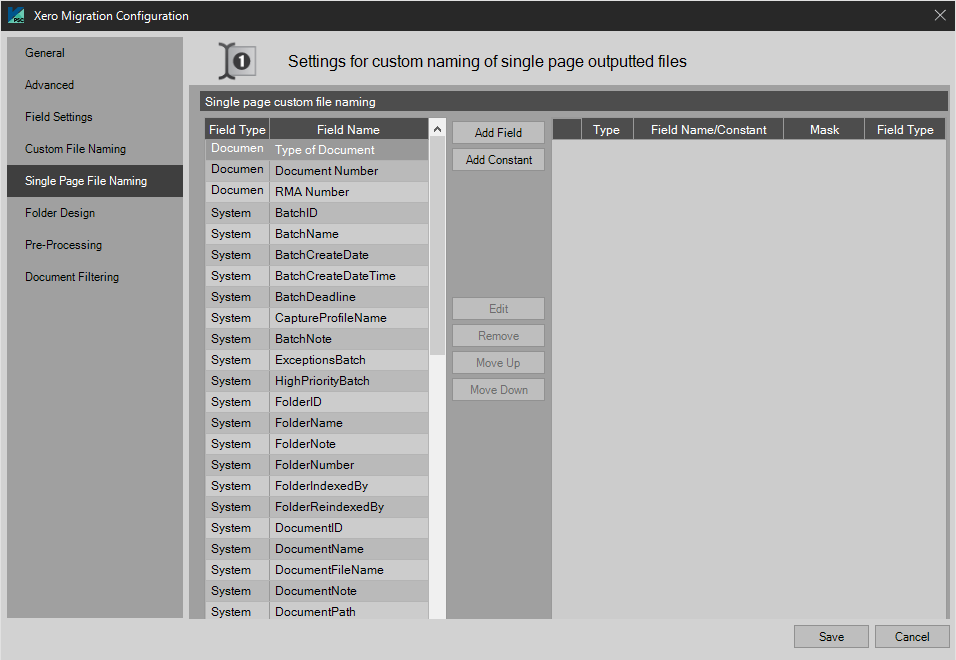
File naming tabs have a universal interface. The example shown here is the Single Page File Naming tab. It supports the use of system and index data to name the files that are being migrated to the Xero Portal. For example, the Client, Platform, Batch_Number, and Load_Date as index fields could be concatenated to create a naming pattern for the migrated files in Xero.
These settings apply to single page custom files migrated.
File Extension is available with the Text migration settings. Users can add a custom file name.
Folder Design
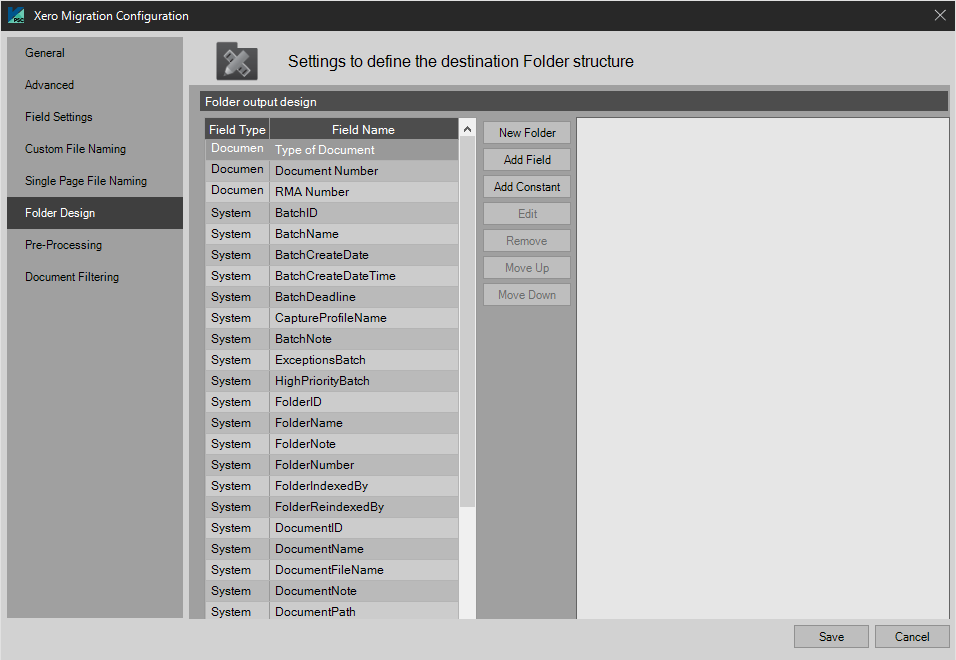
The folder design tab supports the use of system and index data in naming of the folders that are being migrated to the target system.
Folder Design should be constructed initially by the Xero Administrator, and then that same design can be customized here to match your Xero organization scheme.
NOTE: If a folder of the same value already exists nothing is done.
Pre-Processing
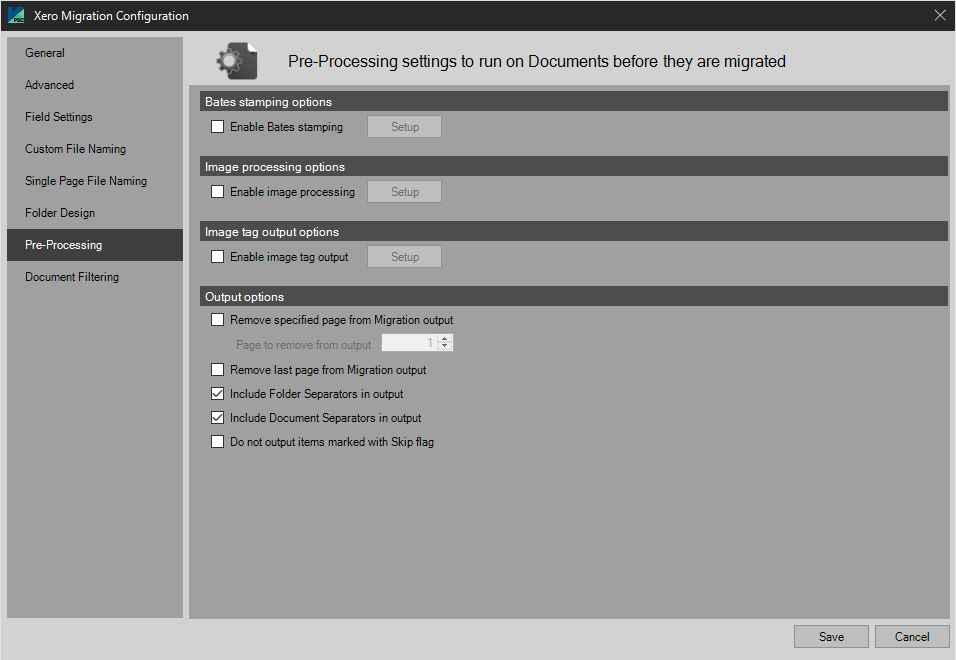
Bates Stamping Options
Bates Stamping is a legal industry standard for organizing and numbering multi-page legal documents. PSIcapture provides two methodologies for applying Bates Stamping: Capture Bates Stamping and Migration Bates Stamping. Capture based stamping applies Bates Stamps during the initial capture phase of a workflow. Migration based stamping applies Bates Stamps in the Migration phase of a workflow, which is typically the final phase.
See PSIcapture Administrator Guide: Bates Stamping
Imaging Processing Options
Select Enable Image Processing and then specify the image processing functions to run.
NOTE: The Enable Image Processing affects ONLY images files and not OCR. This feature is intended to be used when the desired images being migrated need a particular function run on them like Despeckle when the user has scanned in color and wishes a second output stream of Black and White images.
See PSIcapture Administrator Guide: Image Processing
Image Tag Output
See PSIcapture Administrator Guide: Image Tag Output
Output Options
Remove specified page from Migration Output: Page to remove from Output
A specified page from each document will be omitted from the output. NOTE: The Remove Page from Output affects ONLY images files and not OCR. This feature is intended to be used when the desired page to be removed is NOT a Folder or Document Separator. OCR is handled in the OCR Workflow Configuration section of this manual.
Remove last page from Migration Output
The last page from each document will be omitted from the output.
Include Folder Separators in Output
If data is included on the Folder Separator which is important to the user during Quality Assurance or Index but is NOT desired to be left in the output viewed by the end user; de-selecting this option will remove the Folder Separator sheet before outputting the file.
Include Document Separators in Output
If data is included on the Document Separator which is important to the user during Quality Assurance or Index but is NOT desired to be left in the output viewed by the end user; de-selecting this option will remove the Document Separator sheet before outputting the file.
Do not output items marked with Skip flag
Items marked with the Skip flag will be omitted from the output.
NOTE: The Keep/Remove Separators defined in migrations affects ONLY images files and not OCR. OCR is handled in the OCR Workflow Configuration section of this manual.
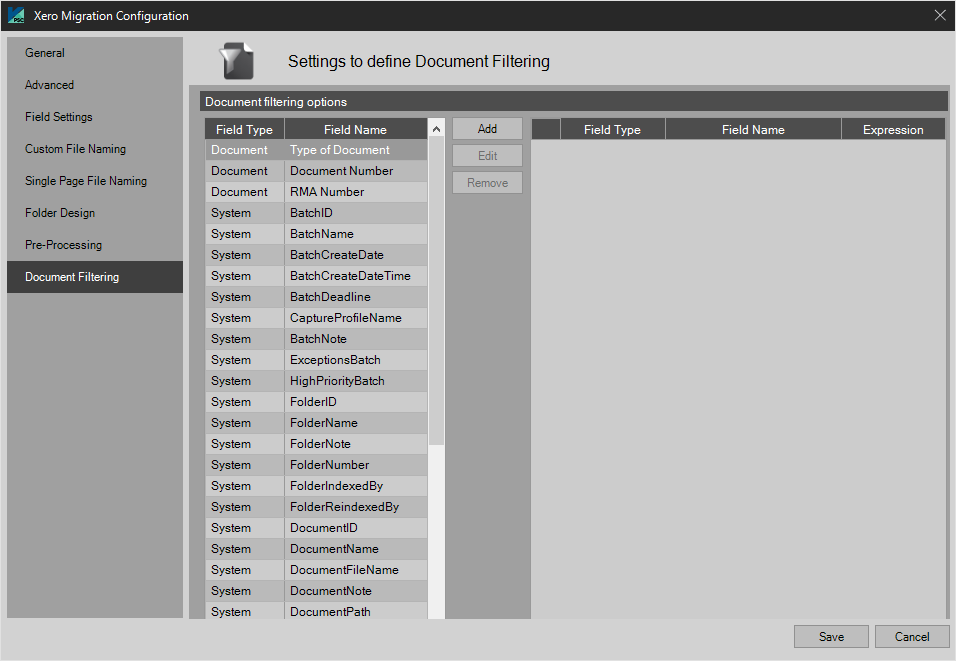
Document Filtering
This article also contains a Sample Document Type, Sample Image, and User Guide for Xero Migration, which can be downloaded via the "Attachments" section.
Comments
Please sign in to leave a comment.